American Food
The air in NYC is finally losing that winter bite, and you know what that means—Zelda and I are hitting the Union Square Greenmarket before the crowds get too thick. My little Boston Terrier mix is convinced every farmer has a treat hidden just for her, and honestly, with that face, she’s usually right! There’s something about the first sight of those slender, vibrant spring onions that hits me right in the soul. They remind me so much of the negi I saw everywhere during my time back in Hatsukaichi. In Japan, spring isn’t just a season; it’s a total flavor profile. It’s that crisp, sharp-yet-sweet transition from the heavy root veggies of winter to the bright, leafy energy of summer.
Walking through the stalls with my red lipstick on and Zelda pulling at her leash, I’m hunting for the ones with the firmest white bulbs and the most unapologetically green tops. These aren’t just garnishes to me; they are the bridge between the earth and the plate. They represent a fresh start, a chance to shake off the winter dust and bring some life back into my tiny kitchen. My dad, Edward, always says you can tell the quality of a tool by its balance, and in my world, a perfectly balanced spring onion is the ultimate culinary tool.

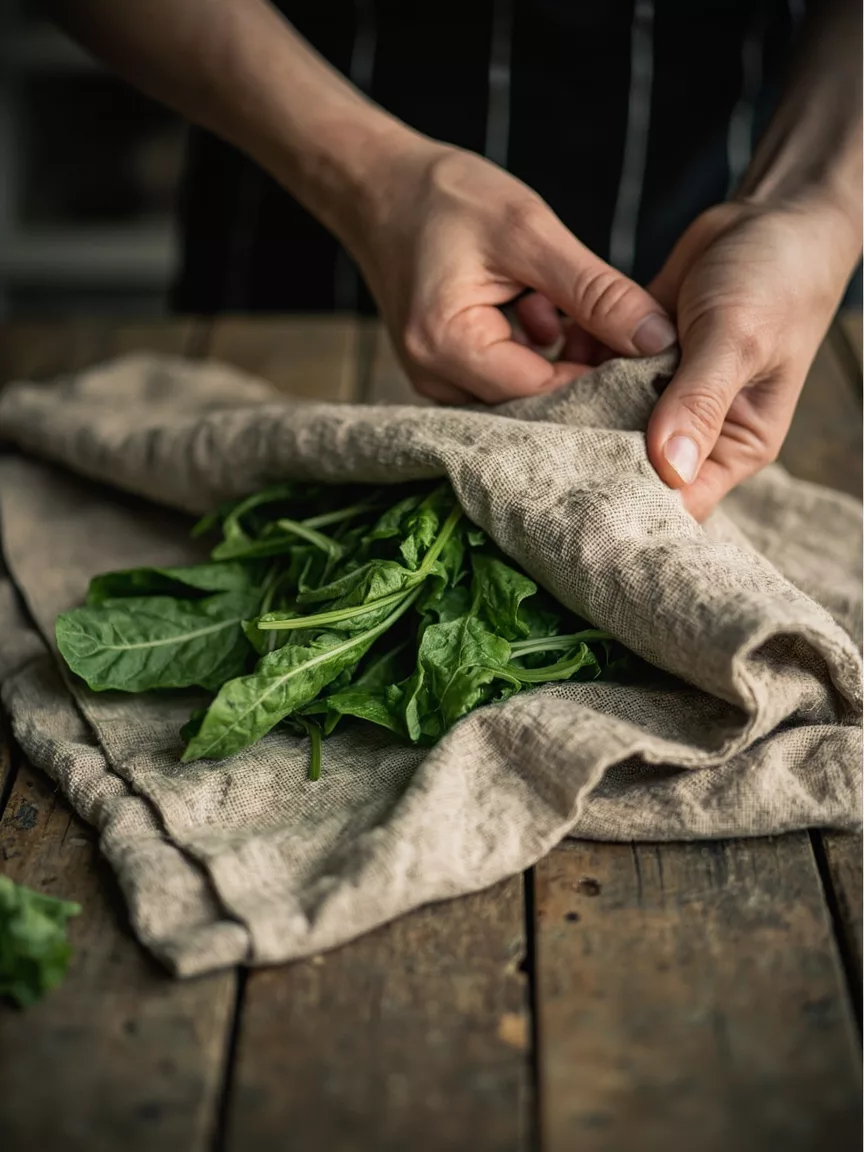
Once I get my haul back to the apartment, the first priority is keeping that snap alive. There’s nothing sadder than a limp onion. My mom, Sandy, is the ultimate plant whisperer—she can practically make a rock sprout leaves—and she taught me that moisture is both your best friend and your worst enemy. To keep them fresh in the fridge, I wrap them loosely in a damp paper towel and tuck them into a reusable silicone bag. It keeps them hydrated without letting them get swampy. If you treat them with a little respect, they’ll stay crunchy for a good week or more.
But here’s the real magic: the gift that keeps on giving. Don’t you dare throw those root ends away! I keep a small glass jar on my sunny windowsill right next to my yoga mat where I do my morning stretches. I pop the white root bases (about 2 inches or 5cm) into a bit of filtered water, and within days, they start reaching for the sky again. It’s a tiny act of rebellion against food waste and a way to stay connected to the cycle of growth, even when I’m surrounded by skyscrapers and the sound of old-school hip hop pumping from the street below.

Cooking with spring onions is an exercise in timing. You want to honor that “sweet heat” they carry. One of my favorite ways to use them is inspired by my travels through Asia, where I learned that fat is the best carrier for aromatics. I make this Ginger-Scallion Sizzle Oil that I keep in a jar for literally everything—topped on silken tofu, swirled into ramen, or drizzled over charred greens. It’s a tradition-meets-innovation vibe that brings a deep, layered umami to vegan cooking.
Jade’s Ginger-Scallion Sizzle Oil
Ingredients:
- 2 cups (100g) spring onions, finely chopped (both white and green parts)
- 1/2 cup (50g) fresh ginger, minced or grated
- 1 cup (240ml) Better Body Foods Avocado Oil
- 1 teaspoon (6g) sea salt
- 1/2 teaspoon (2ml) toasted sesame oil
- 1 pinch (1g) red pepper flakes (optional, for that NYC heat)
Instructions:
- In a heat-proof glass or ceramic bowl, combine your chopped spring onions, minced ginger, and sea salt. Toss them together so the salt starts to draw out just a hint of moisture.
- In a small saucepan, heat the Better Body Foods Avocado Oil until it’s shimmering but not smoking. You’ll know it’s ready if a single piece of onion sizzles instantly when dropped in.
- Carefully—and I mean carefully, don’t mess up your favorite vintage tee!—pour the hot oil over the onion and ginger mixture. It will bubble and hiss, releasing an incredible aroma that will make your neighbors jealous.
- Stir in the toasted sesame oil and the red pepper flakes.
- Let the oil cool completely before transferring it to a glass jar. This liquid gold stays good in the fridge for about two weeks, though it never lasts that long when I’m around!

In my kitchen, we don’t do “disposable.” I have a tattoo on my left arm of my Thai grandma’s tea set to remind me that things have history and value, and I apply that same logic to my veggies. Most people just use the white parts and toss the greens, or vice versa, but that’s a missed opportunity for texture and depth. The white bulbs are dense and hold up beautifully to a hard char in a cast-iron skillet, becoming jammy and sweet. The dark green tops are bright and peppery, perfect for finishing a dish with a hit of raw energy.
When I’m prepping a big bowl of grains or noodles, I use the whole stalk. I’ll sauté the whites with some garlic to build a foundation, then fold the greens in at the very last second so they just barely wilt. It’s about honoring the entire plant and the effort it took to grow. Plus, it adds a visual pop that looks amazing against a backdrop of my light bronze ceramic bowls. Whether I’m video chatting with my brother Naveen in LA to show off my latest creation or just fueling up before a long day of editing for Cookingwithjade.com, these green gems are the heartbeat of my spring kitchen. They’re simple, they’re resilient, and they’re a reminder that even in the busiest city, we can still find a way to stay grounded.
If you enjoyed this article or have suggestions on how we can improve it, please leave us a comment below. Also, make sure to check out other dishes I’ve created or stories I’ve written about food culture – here.